%20(1).avif)
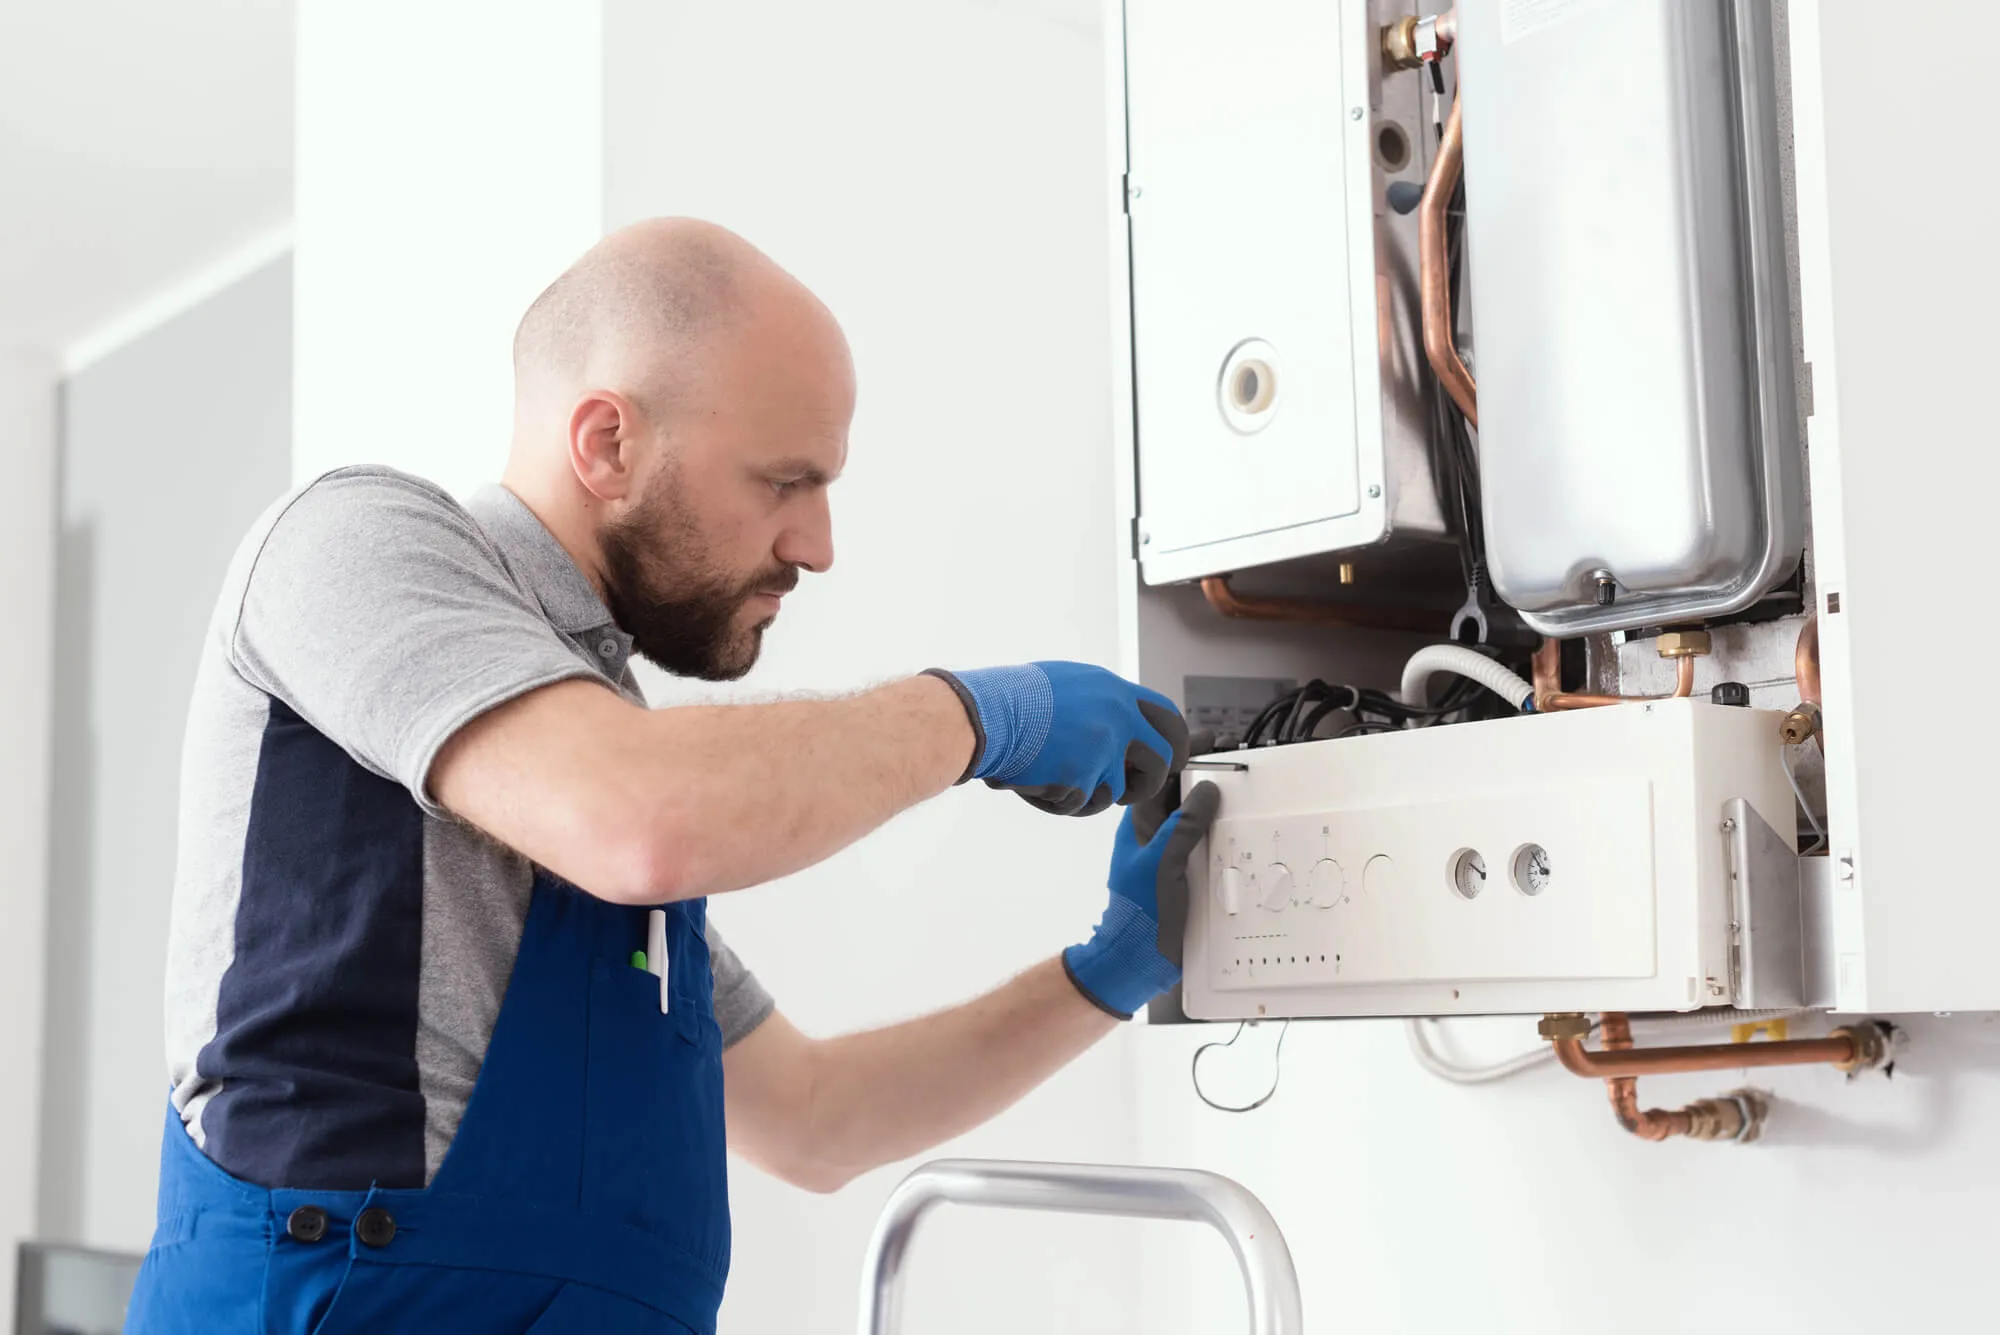
When the hot water suddenly runs out, most homeowners realize just how essential a reliable water heater is. Replacing or installing a new unit can feel overwhelming if you’re not sure what the process involves. The good news is that with professional help, the experience is straightforward and efficient. For homeowners seeking a water heater installation in Omaha, understanding what to expect during the process helps reduce stress and ensures your system is properly set up from the start.

Step 1: First Assessment and Home Evaluation
The process begins with an evaluation of your home’s hot water needs. Plumbers will ask questions about your household size, daily water usage, and preferred energy source (gas, electric, or tankless). They may also inspect your current system to identify any issues with plumbing connections, venting, or electrical wiring that need to be addressed before installation.
This step is crucial because it ensures the new system is properly sized for your home. Installing a unit that is too small leads to frequent shortages. However, one that is too large can waste energy and increase utility bills.
Step 2: Choosing the Right Water Heater
Once your needs have been evaluated, the next step is to select the right water heater for your home. There are three main types to consider:
- Traditional tank water heaters: Store hot water in a tank, typically ranging from 40 to 80 gallons. They are cost-effective but require more space.
- Tankless water heaters: Heat water on demand without storing it. These units save space and energy but may have higher upfront costs.
- Hybrid models: Combine storage with on-demand heating for efficiency and reliability.
A professional installer will explain the pros and cons of each type, helping you choose the system that balances cost, efficiency, and performance for your household.
Step 3: Preparing the Installation Site
Before the new unit is brought in, the installation area needs to be prepared. This usually includes:
- Shutting off the water and power supply to the existing system.
- Draining the old water heater and disconnecting it safely.
- Removing the old unit and clearing space for the new one.
For tankless systems, this may also involve setting up additional venting or electrical adjustments. Professional plumbers handle these tasks carefully to prevent water damage and ensure all connections are safe.
Step 4: Installing the New Water Heater
The new water heater is placed in position, and the connections are carefully made. This involves:
- Attaching water lines securely to prevent leaks.
- Connecting the unit to the electrical system or gas line, depending on the type.
- Adding proper venting for gas systems to ensure safe operation.
- Installing temperature and pressure relief valves for safety.
Professionals also insulate the pipes around the water heater to reduce heat loss and improve efficiency. Attention to these details ensures your system runs reliably and safely.
Step 5: Testing and Adjustments
After installation, the plumber fills the tank with water and tests the system to ensure it is functioning properly. This includes:
- Checking for leaks at all connections.
- Testing the water temperature to ensure it matches the thermostat setting.
- Confirming proper venting to avoid dangerous gas buildup.
- Ensuring the unit cycles on and off as designed.
For tankless systems, the flow rate is tested to confirm that hot water is delivered consistently. These tests guarantee that your water heater is functioning as expected before the job is considered complete.
Step 6: Final Inspection and Clean-Up
Once the system is running properly, the installer conducts a final inspection. They verify that the installation meets local building codes and safety requirements. Many professional companies also provide a walk-through for homeowners, explaining how the system works and offering tips for maintenance.
Finally, the work area is cleaned up, and the installation team typically hauls away the old unit. This leaves homeowners with nothing to worry about, except enjoying a reliable supply of hot water.
How Long Does Installation Take?
For most standard tank water heaters, the process takes between 2 and 4 hours. Tankless systems may take longer, particularly if additional venting or electrical work is needed. Factors that can extend installation time include:
- Accessibility of the installation site.
- Complicated plumbing or electrical adjustments.
- Removal of larger, older units.
Discussing these details in advance helps set realistic expectations for the installation day.
What Homeowners Should Do Before Installation
To make the process smoother, homeowners can prepare by:
- Clearing space around the installation site for easy access.
- Ensuring pets and children are kept away from the work area.
- Asking questions about the process, warranties, and maintenance during the evaluation stage.
Simple steps like these save time and allow the plumber to complete the job efficiently.
Maintenance Tips After Installation
A new water heater is a significant investment, and regular maintenance helps extend its lifespan. Homeowners should:
- Flush the tank once or twice a year to remove sediment buildup.
- Test the pressure relief valve annually.
- Insulate exposed pipes to prevent heat loss.
- Schedule periodic inspections with a plumber.
Tankless units also benefit from annual maintenance to prevent mineral buildup and keep them running efficiently.
Common Questions About Water Heater Installation
Do I Need a Permit?
In many cities, installing a new water heater requires a permit. This ensures the work complies with local building codes, which are in place to protect homeowners’ safety. A permit helps confirm that the installation meets standards for venting, plumbing, and electrical or gas connections. Fortunately, most professional plumbers take care of this paperwork for you, saving time and preventing costly mistakes that can arise from unpermitted work.
How Long Will My New Water Heater Last?
The lifespan of a water heater depends on the type you install and how well it is maintained. Traditional tank-style water heaters usually last 8 to 12 years, while tankless models can last up to 20 years with proper care. Regular maintenance—such as flushing sediment from the tank, checking the pressure relief valve, and scheduling inspections—can extend its lifespan and keep it operating efficiently.
Can I Install a Water Heater Myself?
While it may be tempting for skilled homeowners to attempt DIY installation, it’s generally not recommended. Water heater installation involves plumbing, gas or electrical connections, and safety measures that require expertise. Professional installation ensures your system operates safely, complies with local codes, and maintains the manufacturer’s warranty.
Interested in Water Heater Installation in Omaha?
Replacing a water heater doesn’t have to be stressful. With the right professionals, you can expect clear communication, safe installation, and dependable performance. If you’re ready for an upgrade, schedule your water heater installation today with Omaha Drain. Our experienced team offers same-day appointments, free consultations, and reliable service that keeps your home running smoothly.


